Create a Lease
To create a lease for an account:
1) Open the Account View for the account.
2) Review the account and verify that the assets were imported from the backend accounting system. Click on the Book tab to see a list of assets.
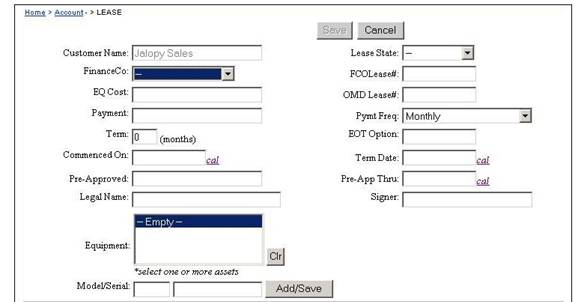
3) Click on  . The new
lease form appears.
. The new
lease form appears.
4) Fill in the fields. See table for definitions.
· To include an asset currently located at the account in the lease, highlight the asset in the Equipment field. To include more than one, press CTRL and click on the other asset(s).
· To include an
asset in the lease that is not located at the account, enter model number and
serial number in the Model/Serial fields and click Add/Save.
5) Click on Save at the top of the form. The
lease view will be displayed with the asset(s) showing in the tab section. (For
more on the Lease View, see Viewing a Lease.)
The new lease will be in the
Book tab of the accounts Total Account View.
Note: If the Lease Portfolio Management workflow automation is
configured, the lease will automatically be assigned to this workflow. Click on
the WF tab to view the automated process information.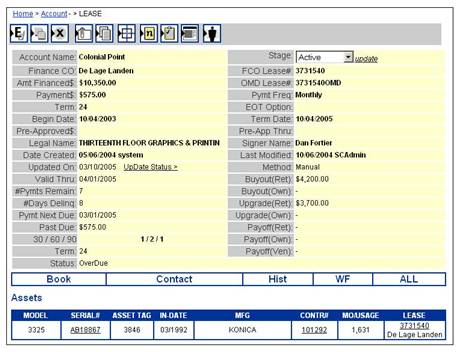
6) Any document associated with the lease, such as a
contract, can be scanned and then attached to the Lease record.
In the Lease View, click on  and identify the location of the scanned
documents file.
and identify the location of the scanned
documents file.
